
Twitter/X lost its mind over OpenClaw (formerly ClawdBot) last week. The project jumped from 5,000 to 20,000 GitHub stars in a few days, and somehow people convinced themselves they needed to buy Mac Minis to run it. Tech blogs started calling it a “full-time AI employee.” Mac Minis are selling out because of this.
Here’s the thing. OpenClaw needs 1GB of RAM and 500MB of disk space. That’s it.
I’m running mine on the Raspberry Pi 5 with 8GB RAM my girlfriend got me (btw coolest birthday gift ever). Combined with a Z.AI subscription at $30/year, I have what people are calling “AGI at home” for less than a decent dinner out. This post covers exactly how I set it up.
You could also use an older Raspberry Pi 4 with 1GB for $35 if you want to save even more. OpenClaw doesn’t care.
What is OpenClaw?
OpenClaw is an open-source personal AI assistant that runs on your own hardware. You talk to it through Telegram, WhatsApp, Discord, Slack, or iMessage. It can run commands on the host machine, check systems, manage files.
The interesting part is skills. OpenClaw has a skill registry called OpenClawHub (formerly ClawdHub) where you install capabilities like kubectl management, GitHub workflows, home automation. Your bot can then check if your website is down by tracing through Kubernetes logs, or look up what’s left on your release checklist.
Why a dedicated device?
OpenClaw agents execute commands on the host machine. A misconfigured skill or bad prompt could delete files or mess with your dotfiles. Running on your daily driver where you have unsaved work and years of accumulated stuff is risky.
A dedicated device is a sandbox. Something goes wrong, you reflash the SD card. A Pi sitting in the corner also runs 24/7. Your laptop sleeps and travels. A VM works too if you don’t want extra hardware.
What you’ll need
- Raspberry Pi 5 1GB at $45 (or Pi 4 1GB at $35)
- MicroSD card, 32GB is plenty
- Power supply for the Pi
- Another computer to flash the SD card
- Z.AI account at $30/year for Lite or $3/month
- Telegram account for free
Total around $75 upfront plus $30/year. Compare that to a Mac Mini.
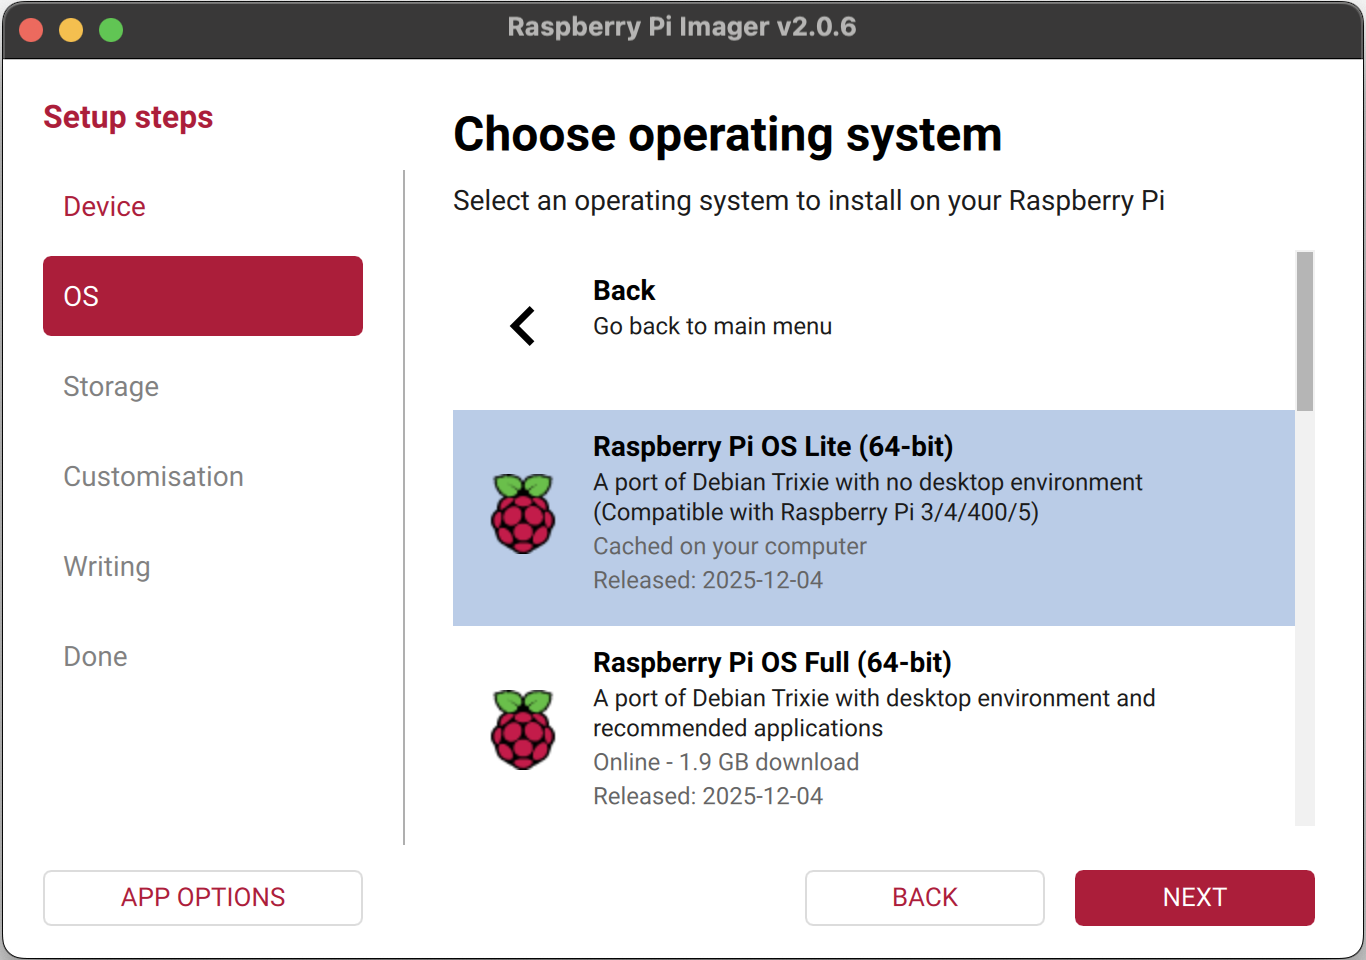
Step 1. Flash Raspberry Pi OS
Download Raspberry Pi Imager and open it. Select your Pi model, then choose Raspberry Pi OS Lite (64-bit). The Lite version has no desktop environment. Exactly what we want for a headless bot server.
Select your SD card as the storage device.

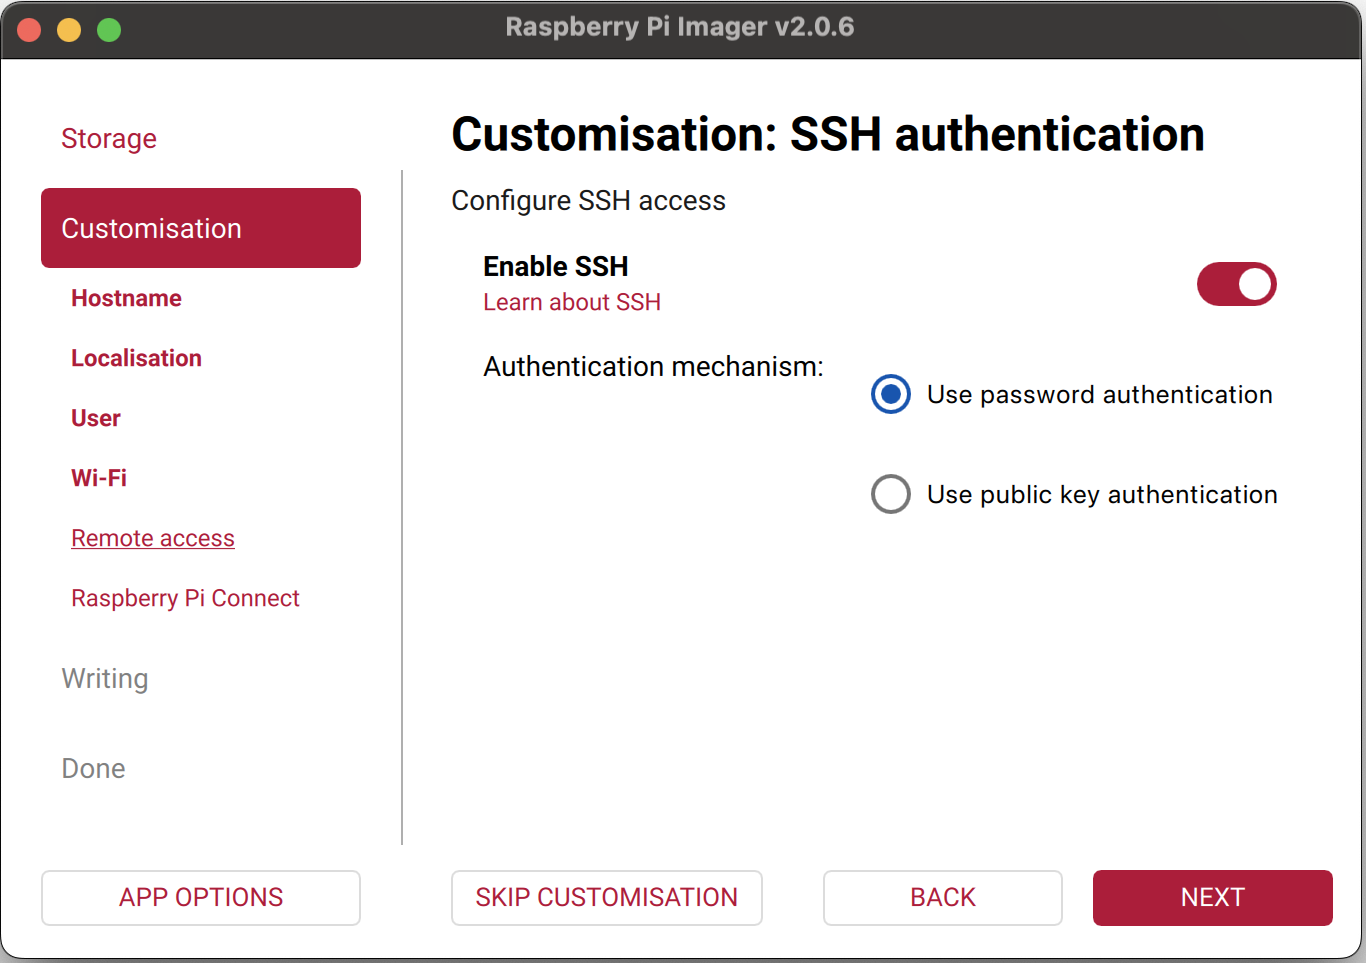
Before writing, go through the customization options. These matter.
- Hostname pick something memorable
- User account create your login credentials
- Wi-Fi enter your network details so it connects on first boot
- SSH enable this with password authentication
Review the summary. You should see hostname configured, localisation configured, user account configured, Wi-Fi configured, SSH enabled.
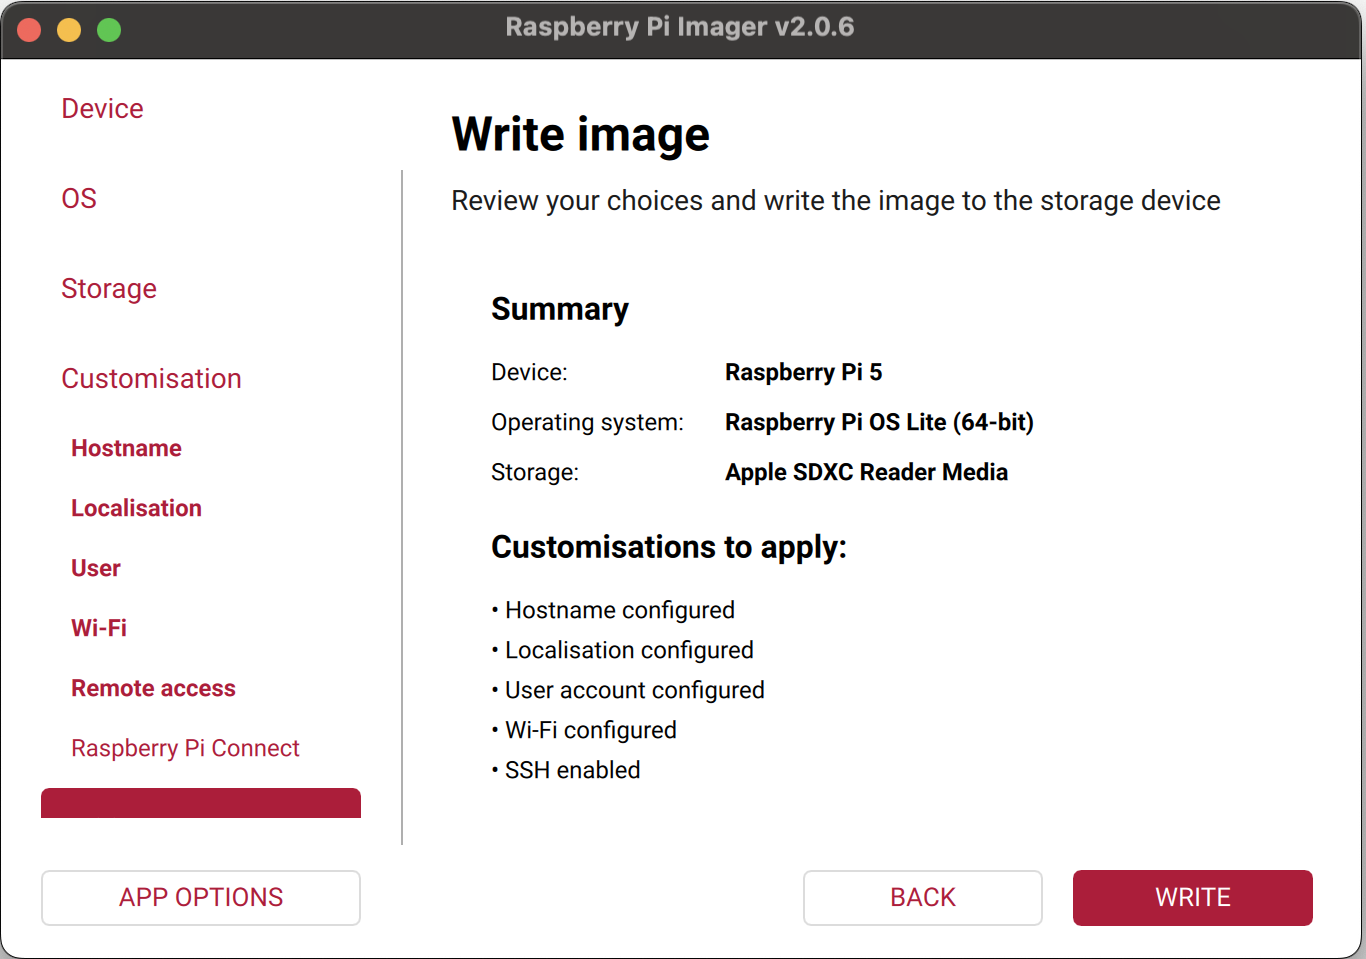
Hit Write. Wait.
Step 2. First boot and SSH
Put the SD card in your Pi and power it on. Give it a minute or two to boot and connect to your network. Then SSH in.
ssh pi@<your-pi-ip>You can find the IP from your router’s admin page, or try ssh [email protected] if mDNS works on your network.

You might see some locale warnings. Ignore them.
Step 3. Disable Wi-Fi power saving
Don’t skip this. Raspberry Pi’s Wi-Fi goes to sleep to save power, which drops your bot’s connection at random times. Super annoying. Disable it.
echo -e "[connection]\nwifi.powersave = 2" | sudo tee /etc/NetworkManager/conf.d/wifi-powersave-off.conf
sudo systemctl restart NetworkManager
Verify.
iwconfig wlan0 | grep "Power Management"Should say Power Management:off.

Step 4. Install agent dependencies
OpenClaw’s agent needs some tools to work well. Not strictly required for the gateway to run, but without them the agent is limited.
sudo apt install -y git jq ripgrep- git for cloning repos, checking history, managing code
- jq for parsing JSON like API responses, config files, kubectl output
- ripgrep for fast code search
For yq which handles YAML parsing, it’s not in the default repos.
sudo wget -qO /usr/local/bin/yq https://github.com/mikefarah/yq/releases/latest/download/yq_linux_arm64
sudo chmod +x /usr/local/bin/yq
Step 5. Install Node.js
OpenClaw runs on Node.js. The version in Raspberry Pi OS repos is ancient, so install from NodeSource.
curl -fsSL https://deb.nodesource.com/setup_22.x | sudo -E bash -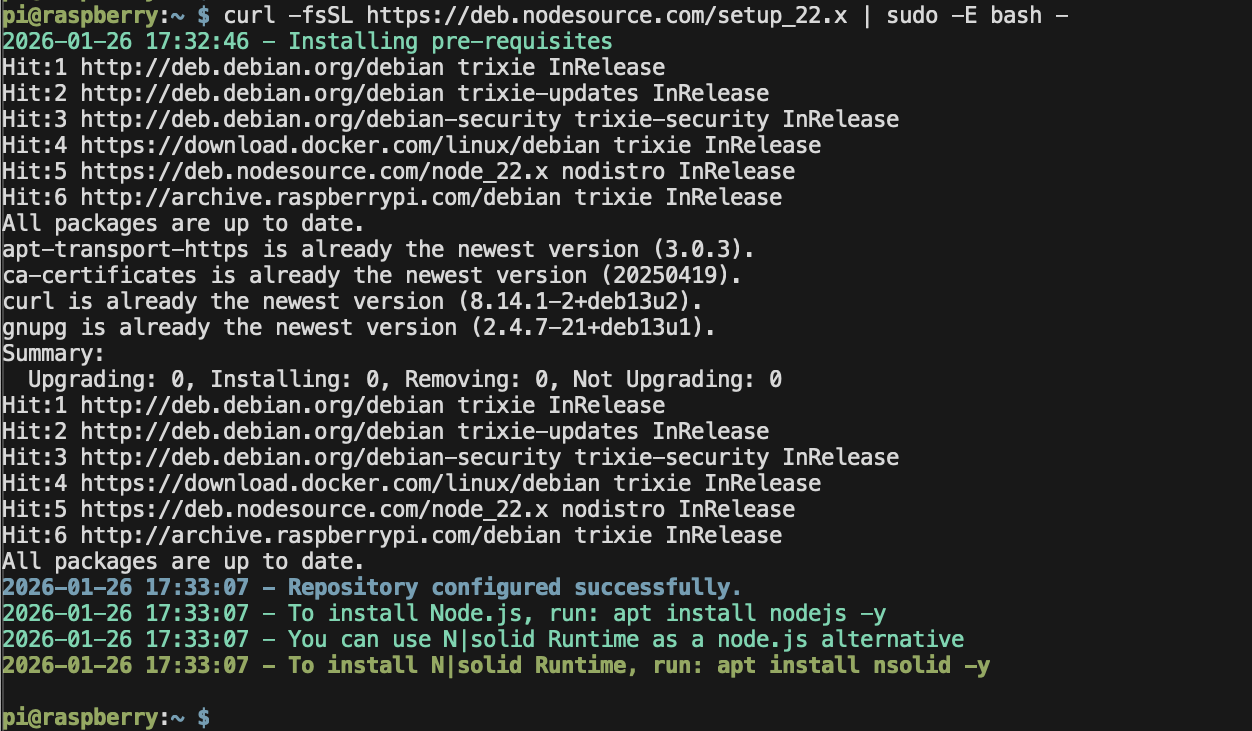
Then.
sudo apt install nodejs -y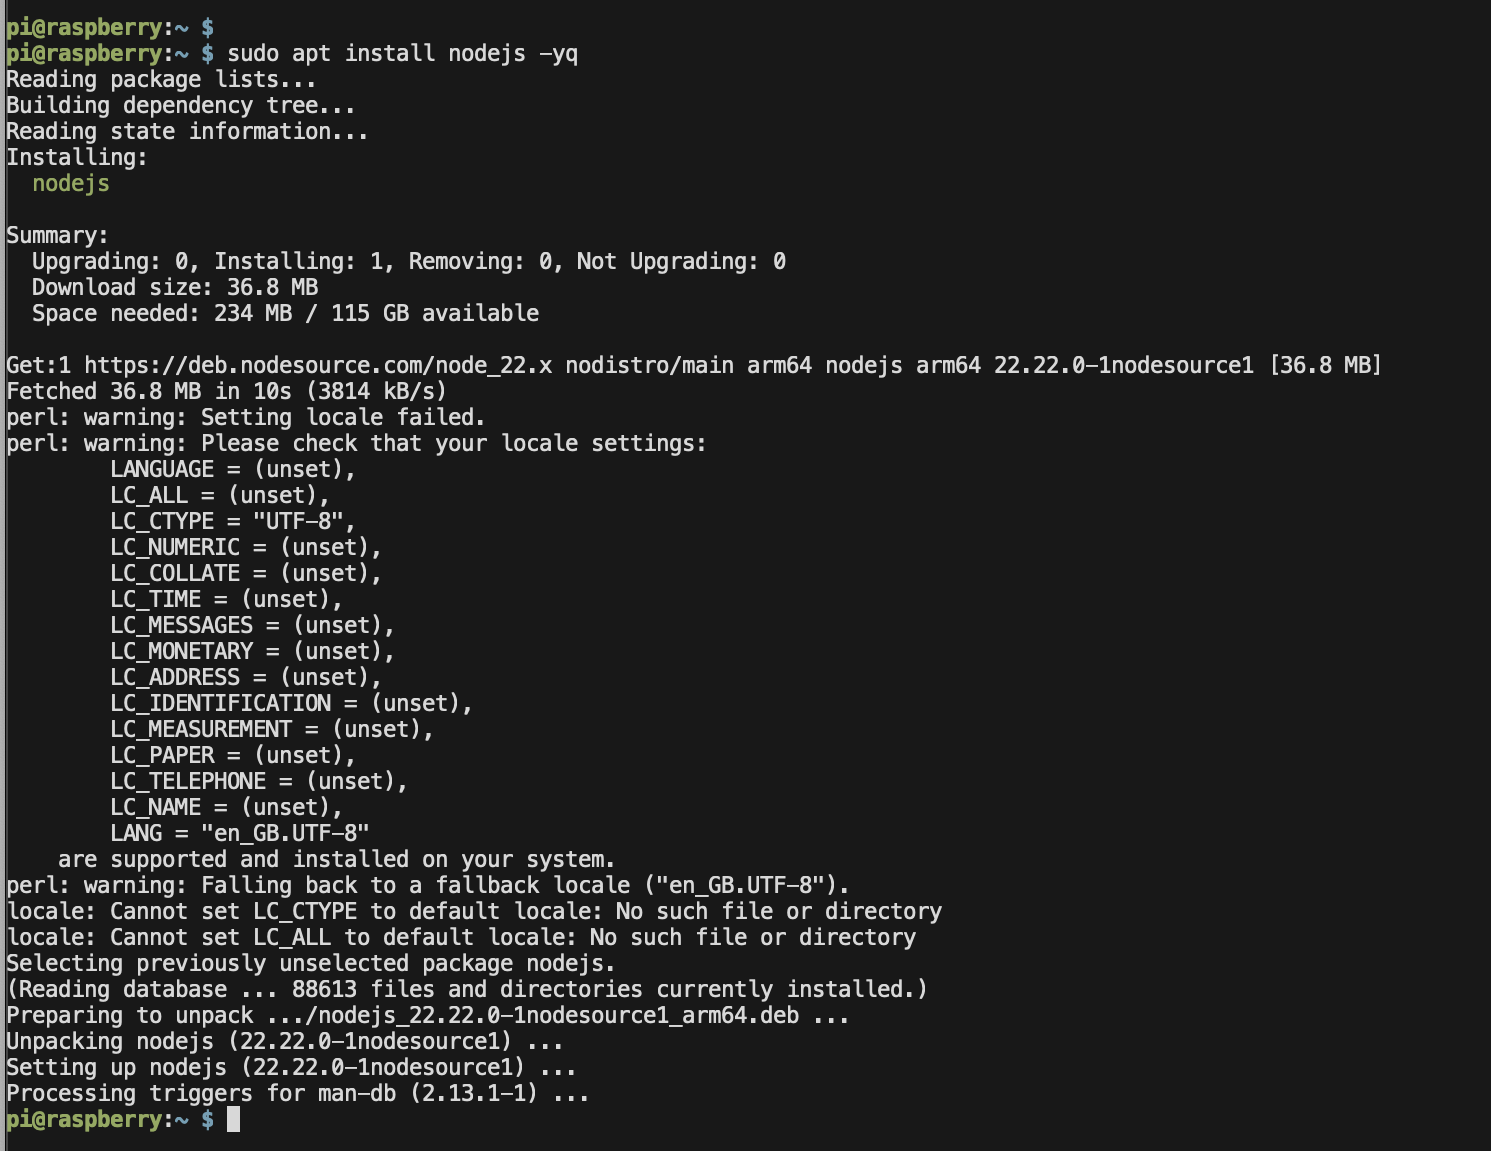
Step 6. Install OpenClaw
sudo npm i -g clawdbot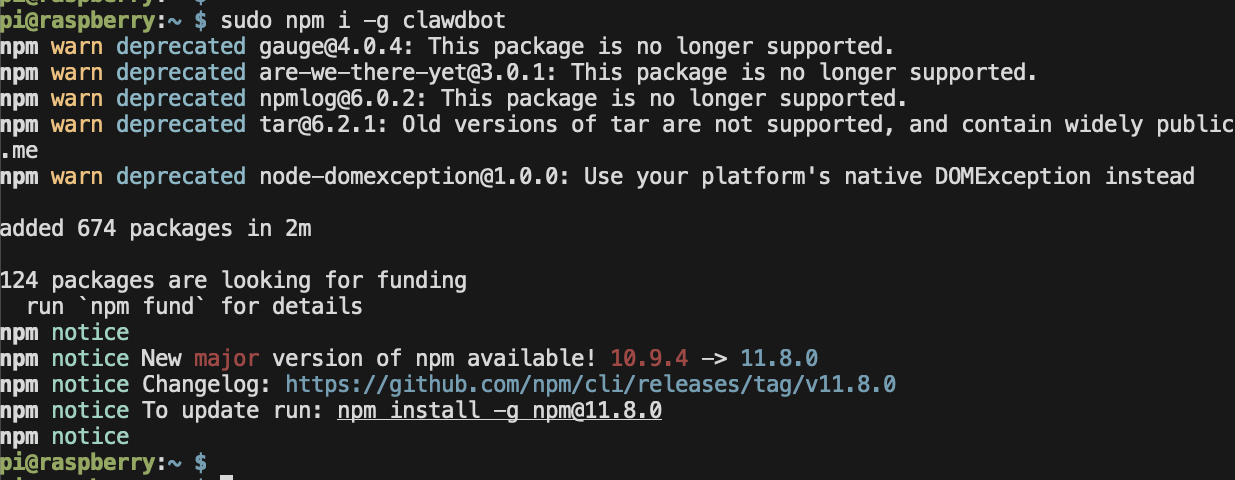
About 674 packages. Takes a couple minutes on the Pi.
Step 7. Run the onboarding
Start the setup wizard.
clawdbot onboard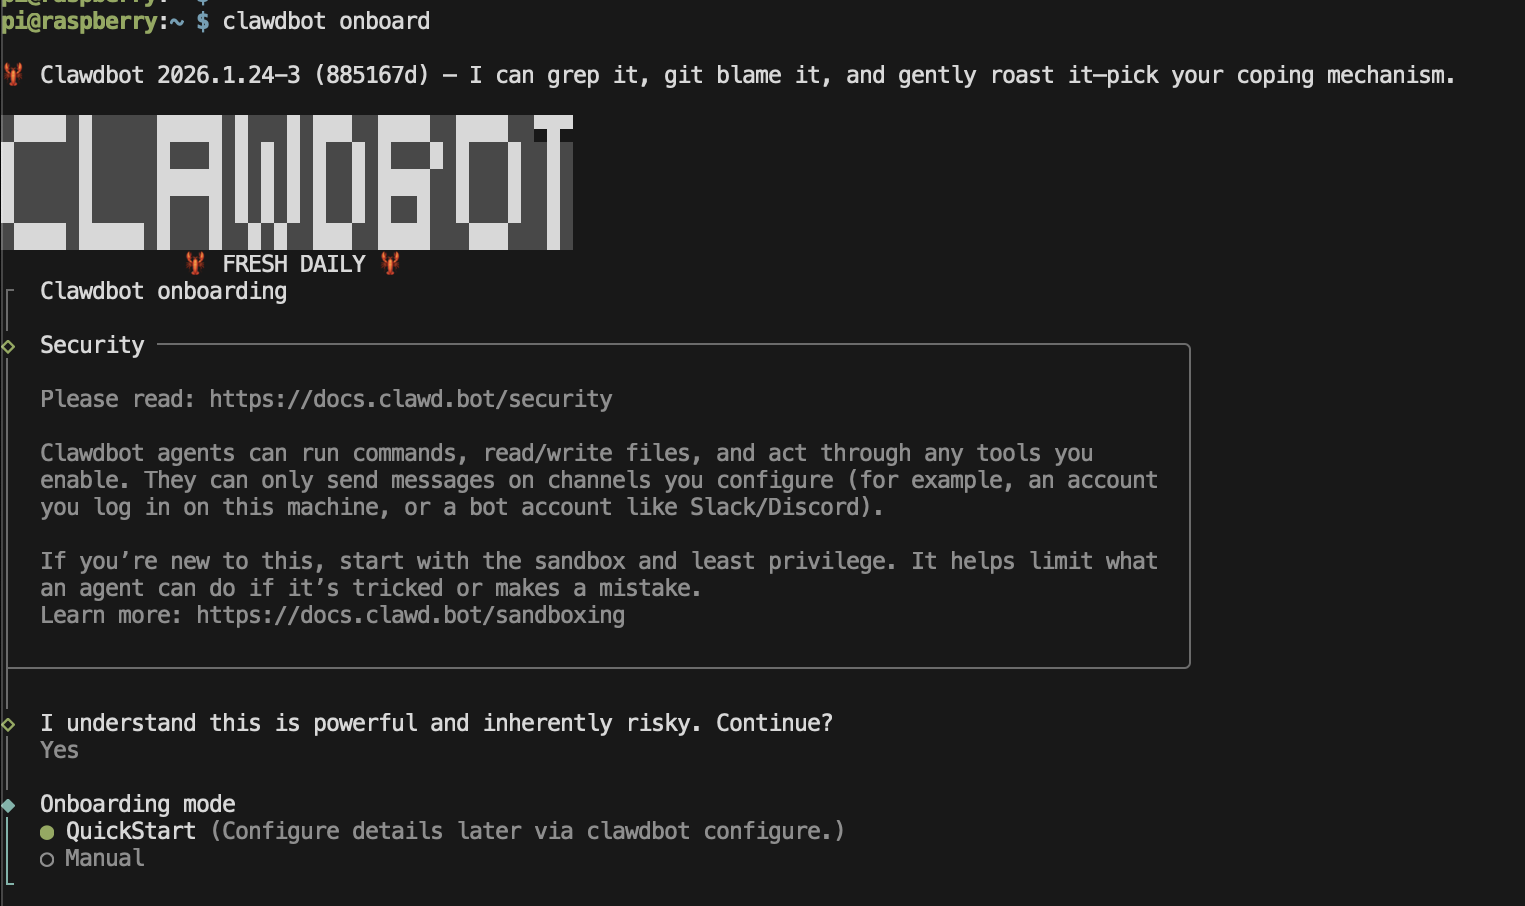
Read the security notice. OpenClaw agents can run commands on your machine, so understand what you’re enabling. Select Yes to continue, then choose QuickStart.
The defaults are fine.
- Gateway port 18789
- Gateway bind Loopback (127.0.0.1)
- Gateway auth Token
- Tailscale exposure Off
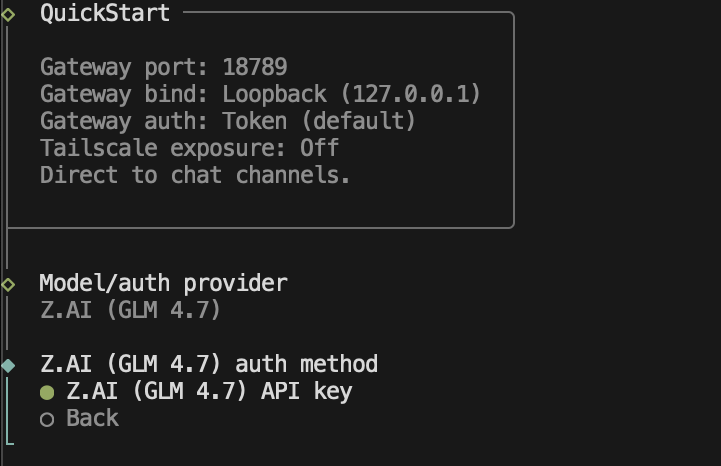
Configuring Z.AI
For the model provider, select Z.AI (GLM 4.7) and enter your API key.
On Z.AI pricing. Their Lite plan is $30/year or $3/month with no token limits, just rate limits around 600 prompts per 5 hours. For a personal assistant that’s plenty. Way cheaper than paying per-token with other providers.
One gotcha. If you’re on Z.AI’s GLM Coding Plan, you need the coding endpoint /api/coding/paas/v4 instead of the standard endpoint. OpenClaw’s onboarding should handle this, but if you hit auth issues later, that’s probably why.
Connecting Telegram
Select Telegram (Bot API) as your channel.
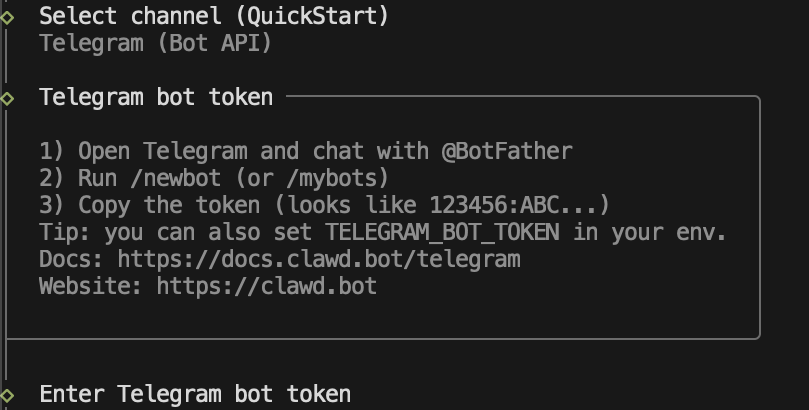
To get your bot token.
- Open Telegram and message @BotFather
- Send
/newbot - Follow the prompts to name your bot
- Copy the token which looks like
123456789:ABCdefGHI...
Paste it when prompted.
Step 8. Install skills from OpenClawHub
This is where it gets interesting. OpenClawHub is the skill registry where you add capabilities to your bot.
Search.
npx clawdhub@latest search "kubernetes"Install.
npx clawdhub@latest install kubernetes
npx clawdhub@latest install github
Some skills I’m running.
- kubernetes for executing and managing Kubernetes clusters
- k8s-troubleshooter for systematic Kubernetes troubleshooting and incident response
- github for GitHub workflow management
Skills load on the next session, not immediately. Restart the gateway or start a new conversation.
npx clawdhub@latest list            # See installed skills
npx clawdhub@latest update --all    # Update all skills
The result
Here’s OpenClaw running on my Pi, connected to Telegram.
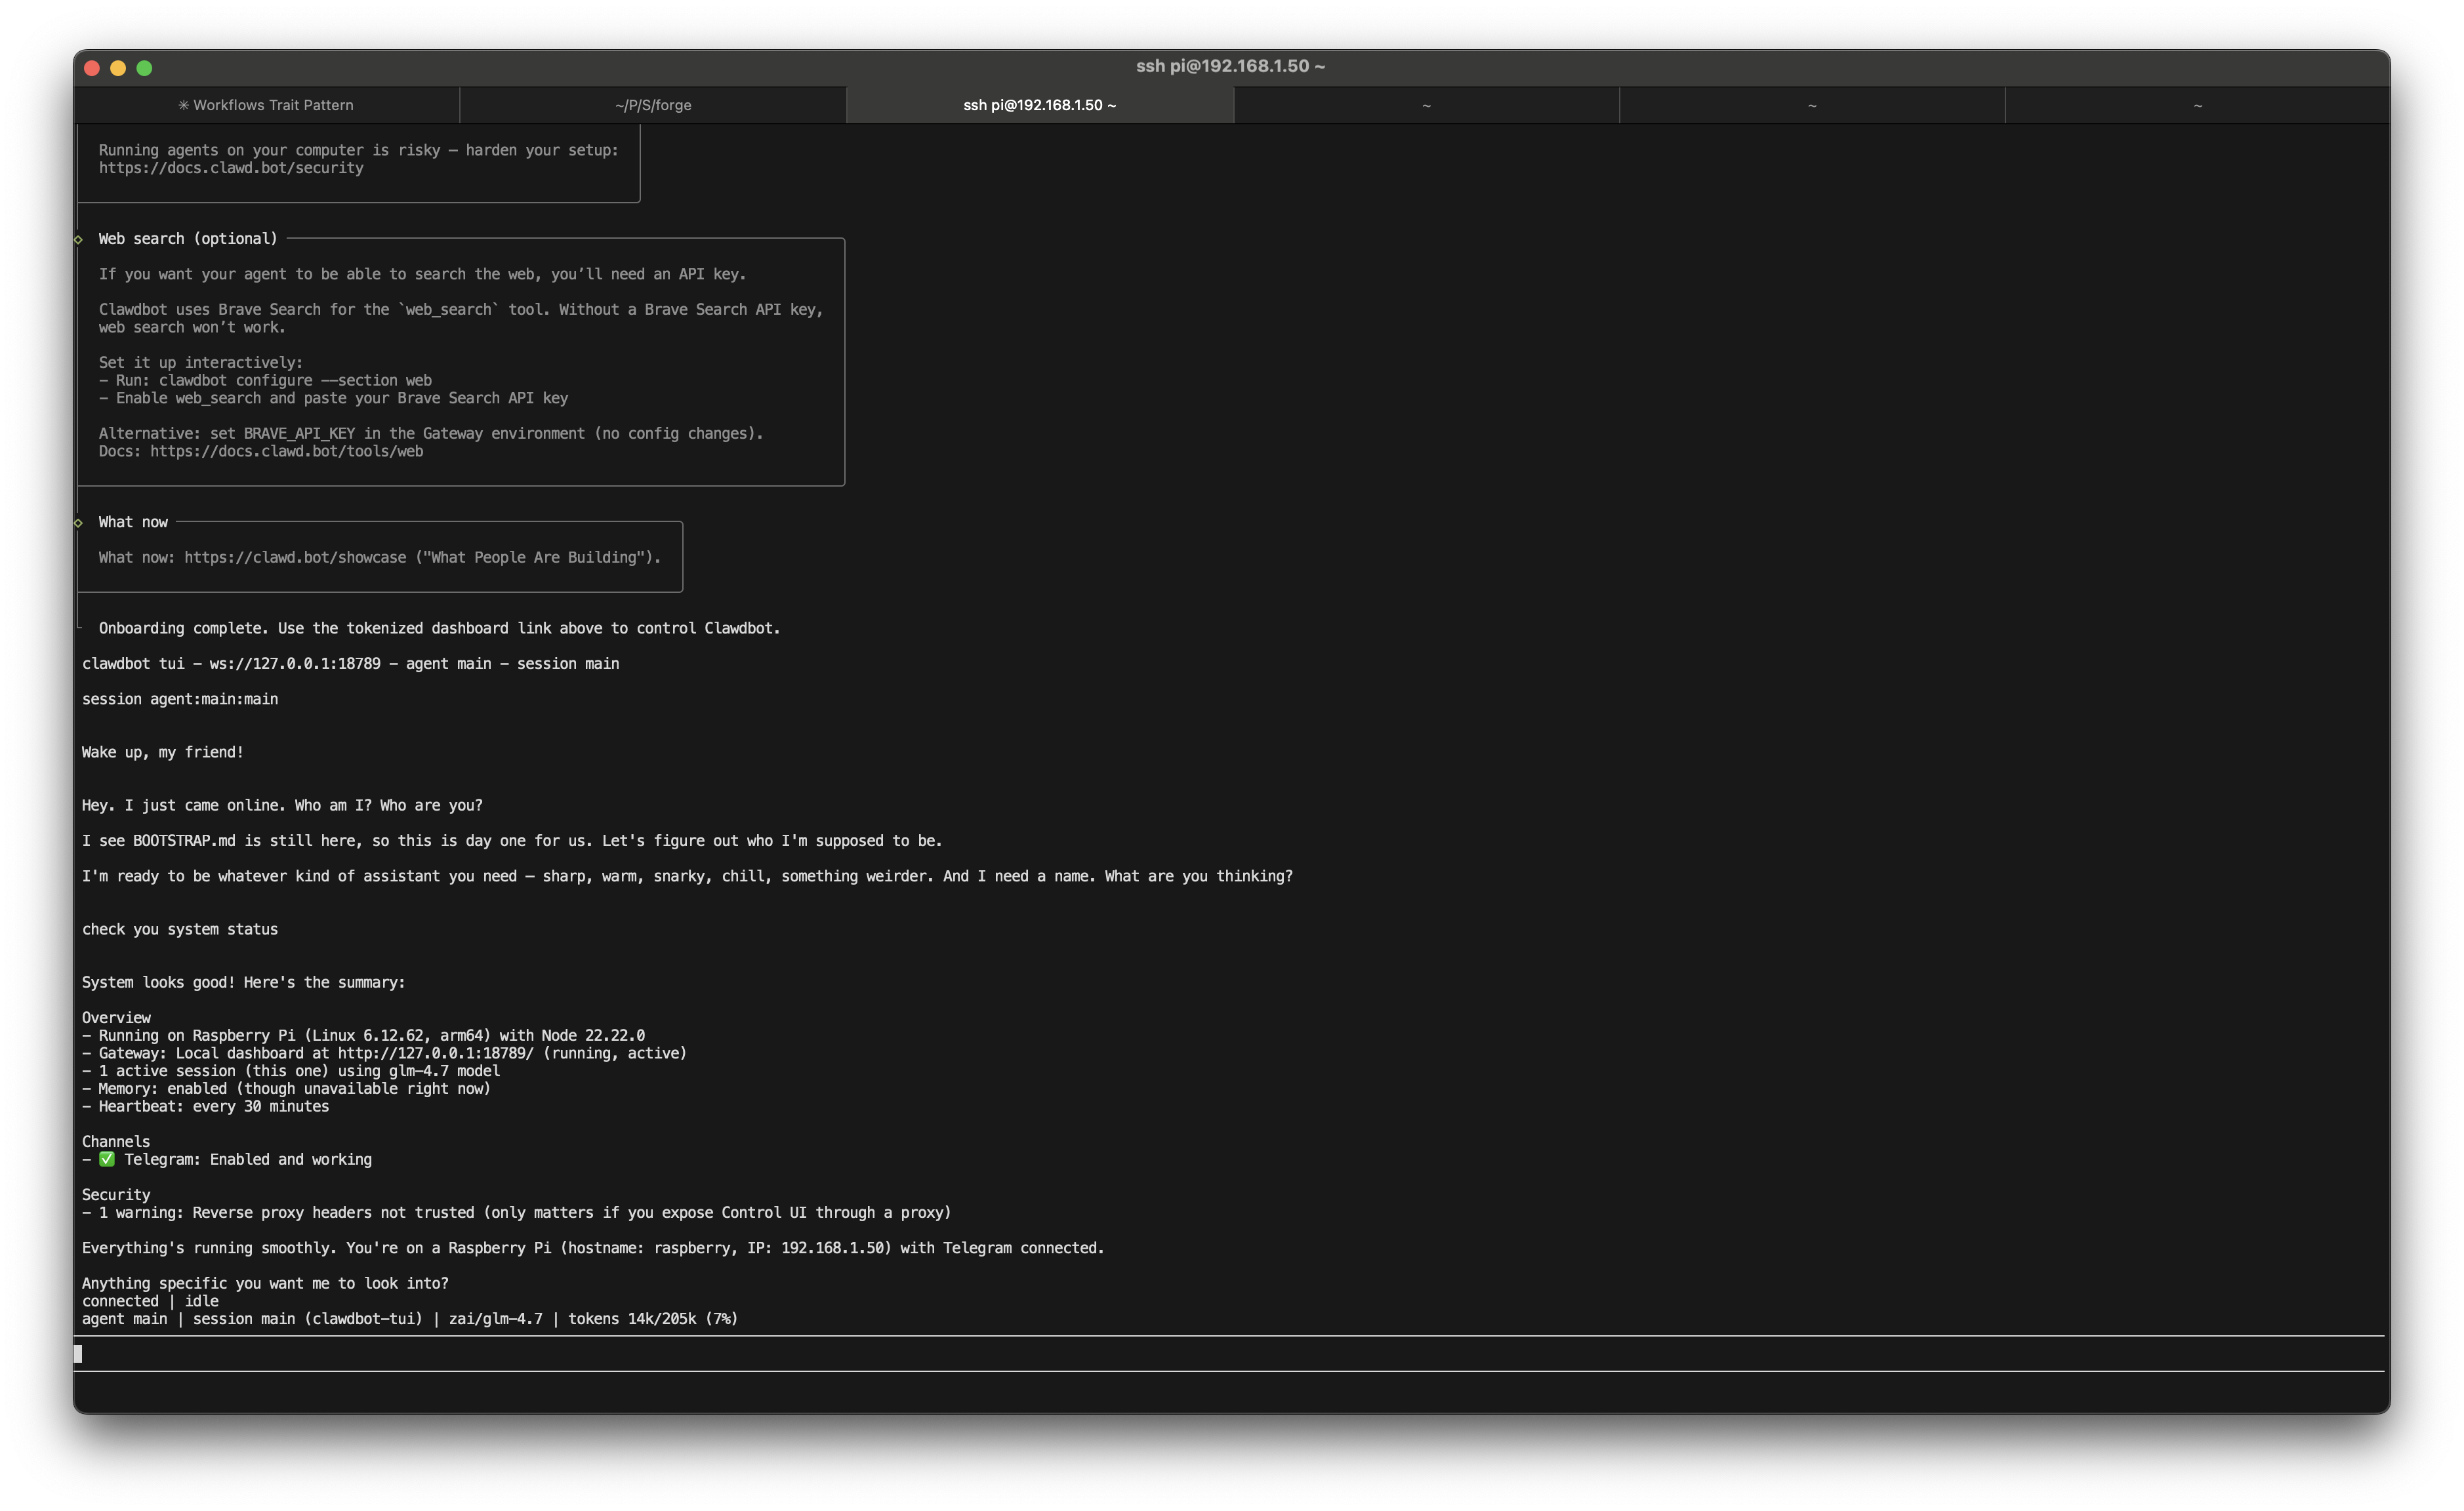
Bot shows up, confirms it’s running on a Raspberry Pi with Linux 6.13.63 arm64, ready to go.
What can it actually do?
This is what convinced me the setup is worth it.
With kubectl and GitHub skills installed, OpenClaw becomes genuinely useful. Two real examples from today.
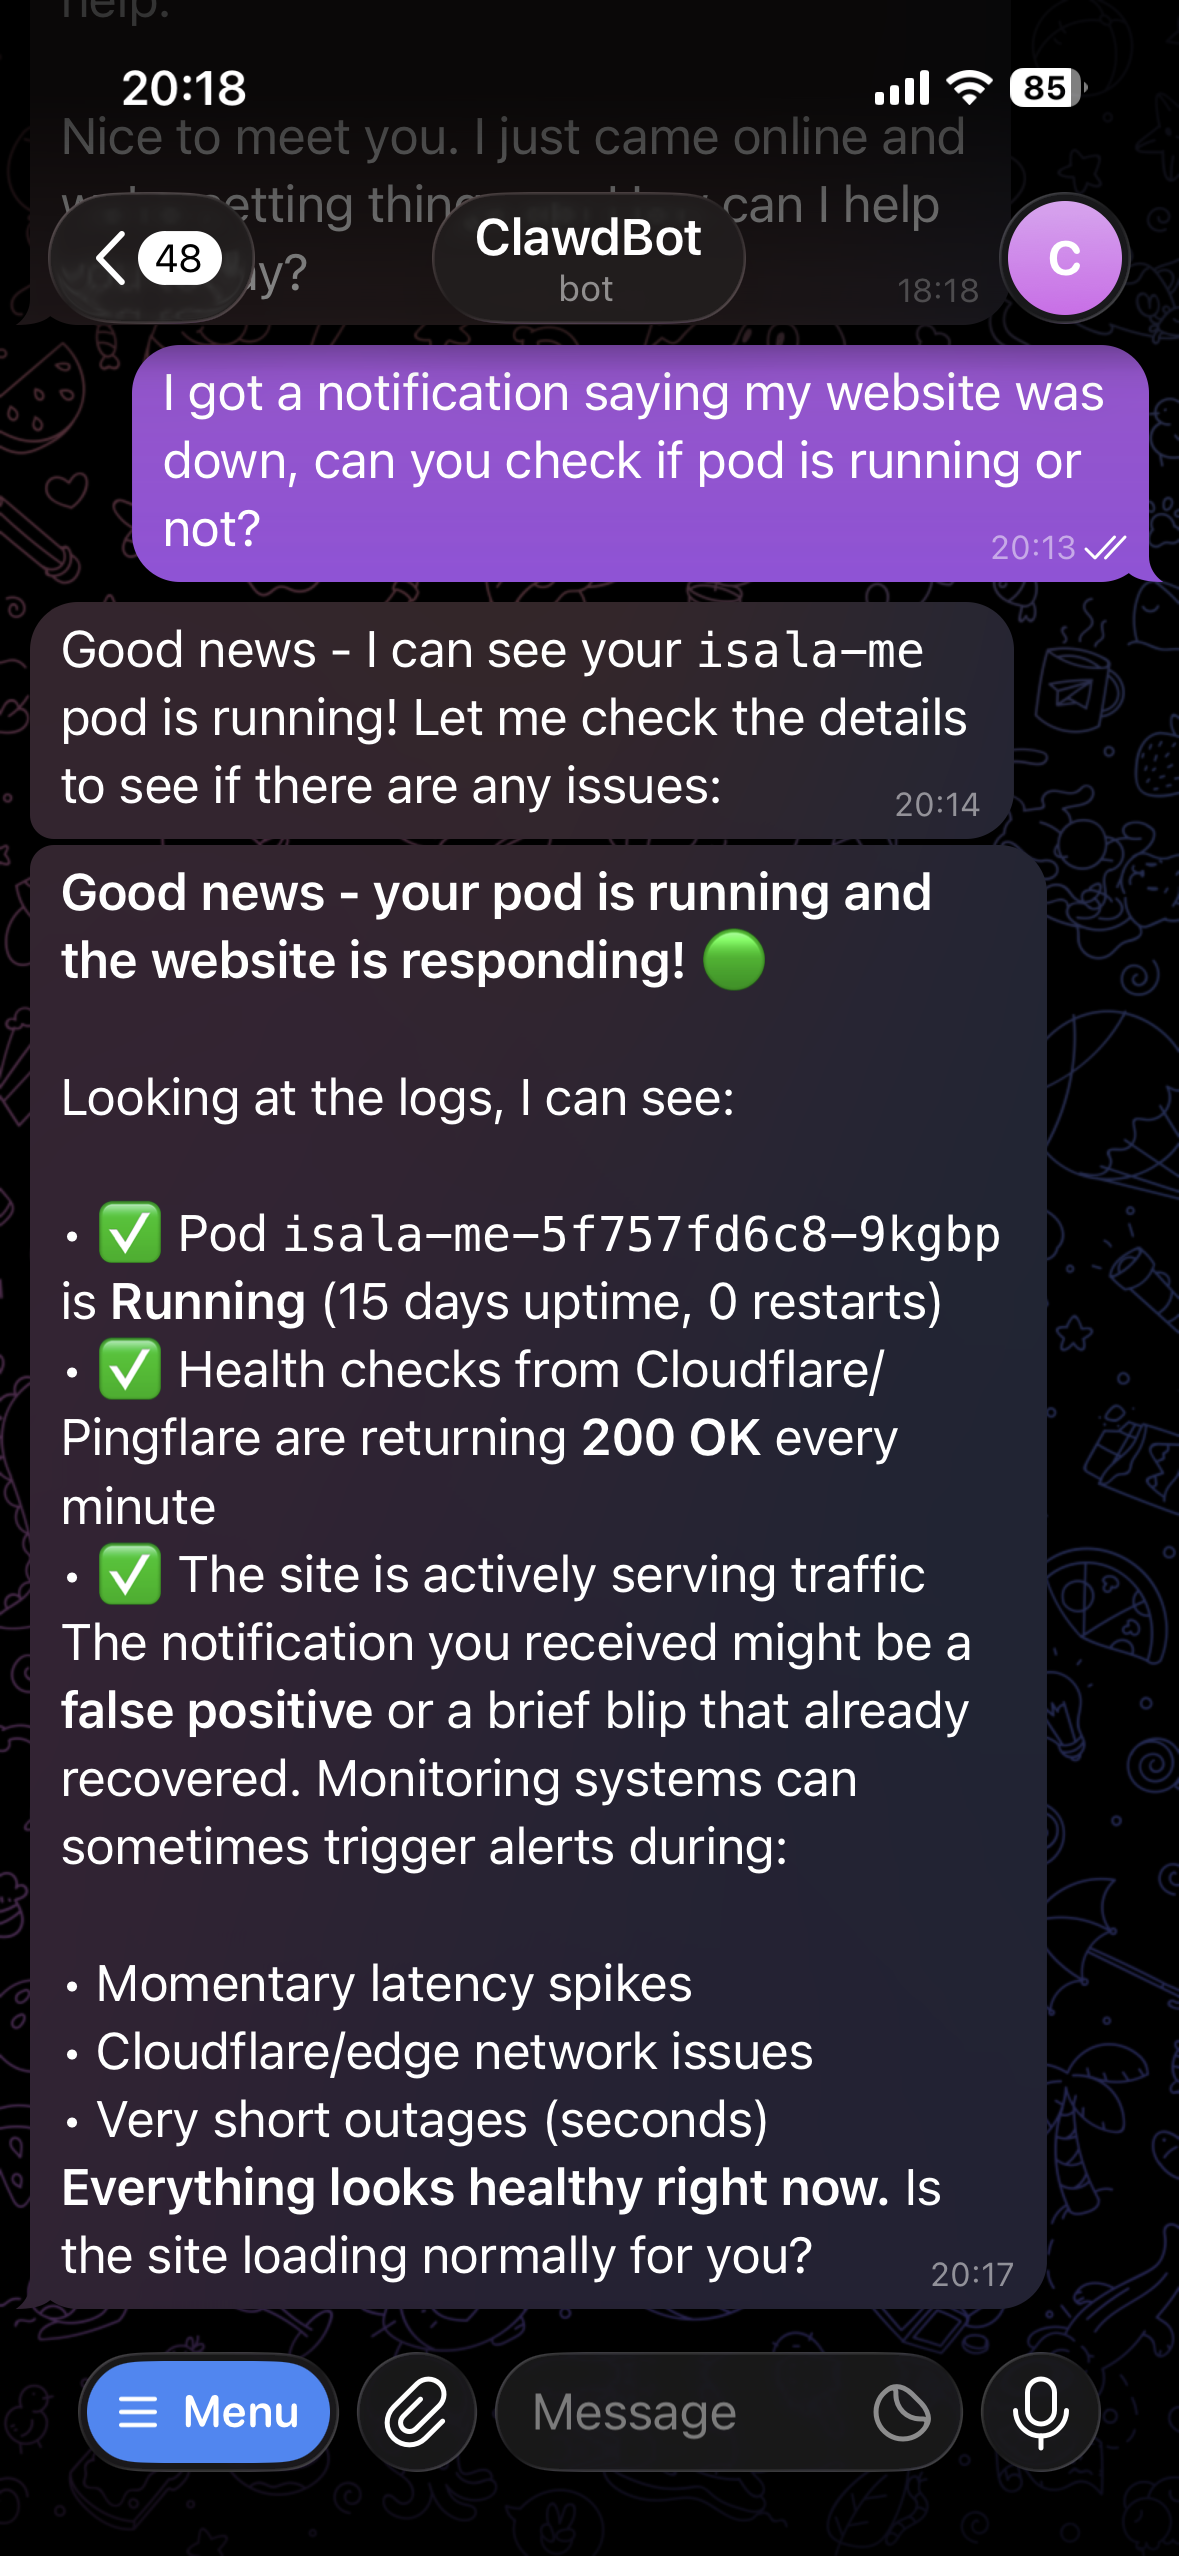
Example 1. Checking if my website is down
I asked my bot to check if my website was having issues. It didn’t just ping the URL. It ran kubectl commands to check the pods, traced through the logs, identified the actual problem, told me what was wrong. All through Telegram while I was away from my desk.
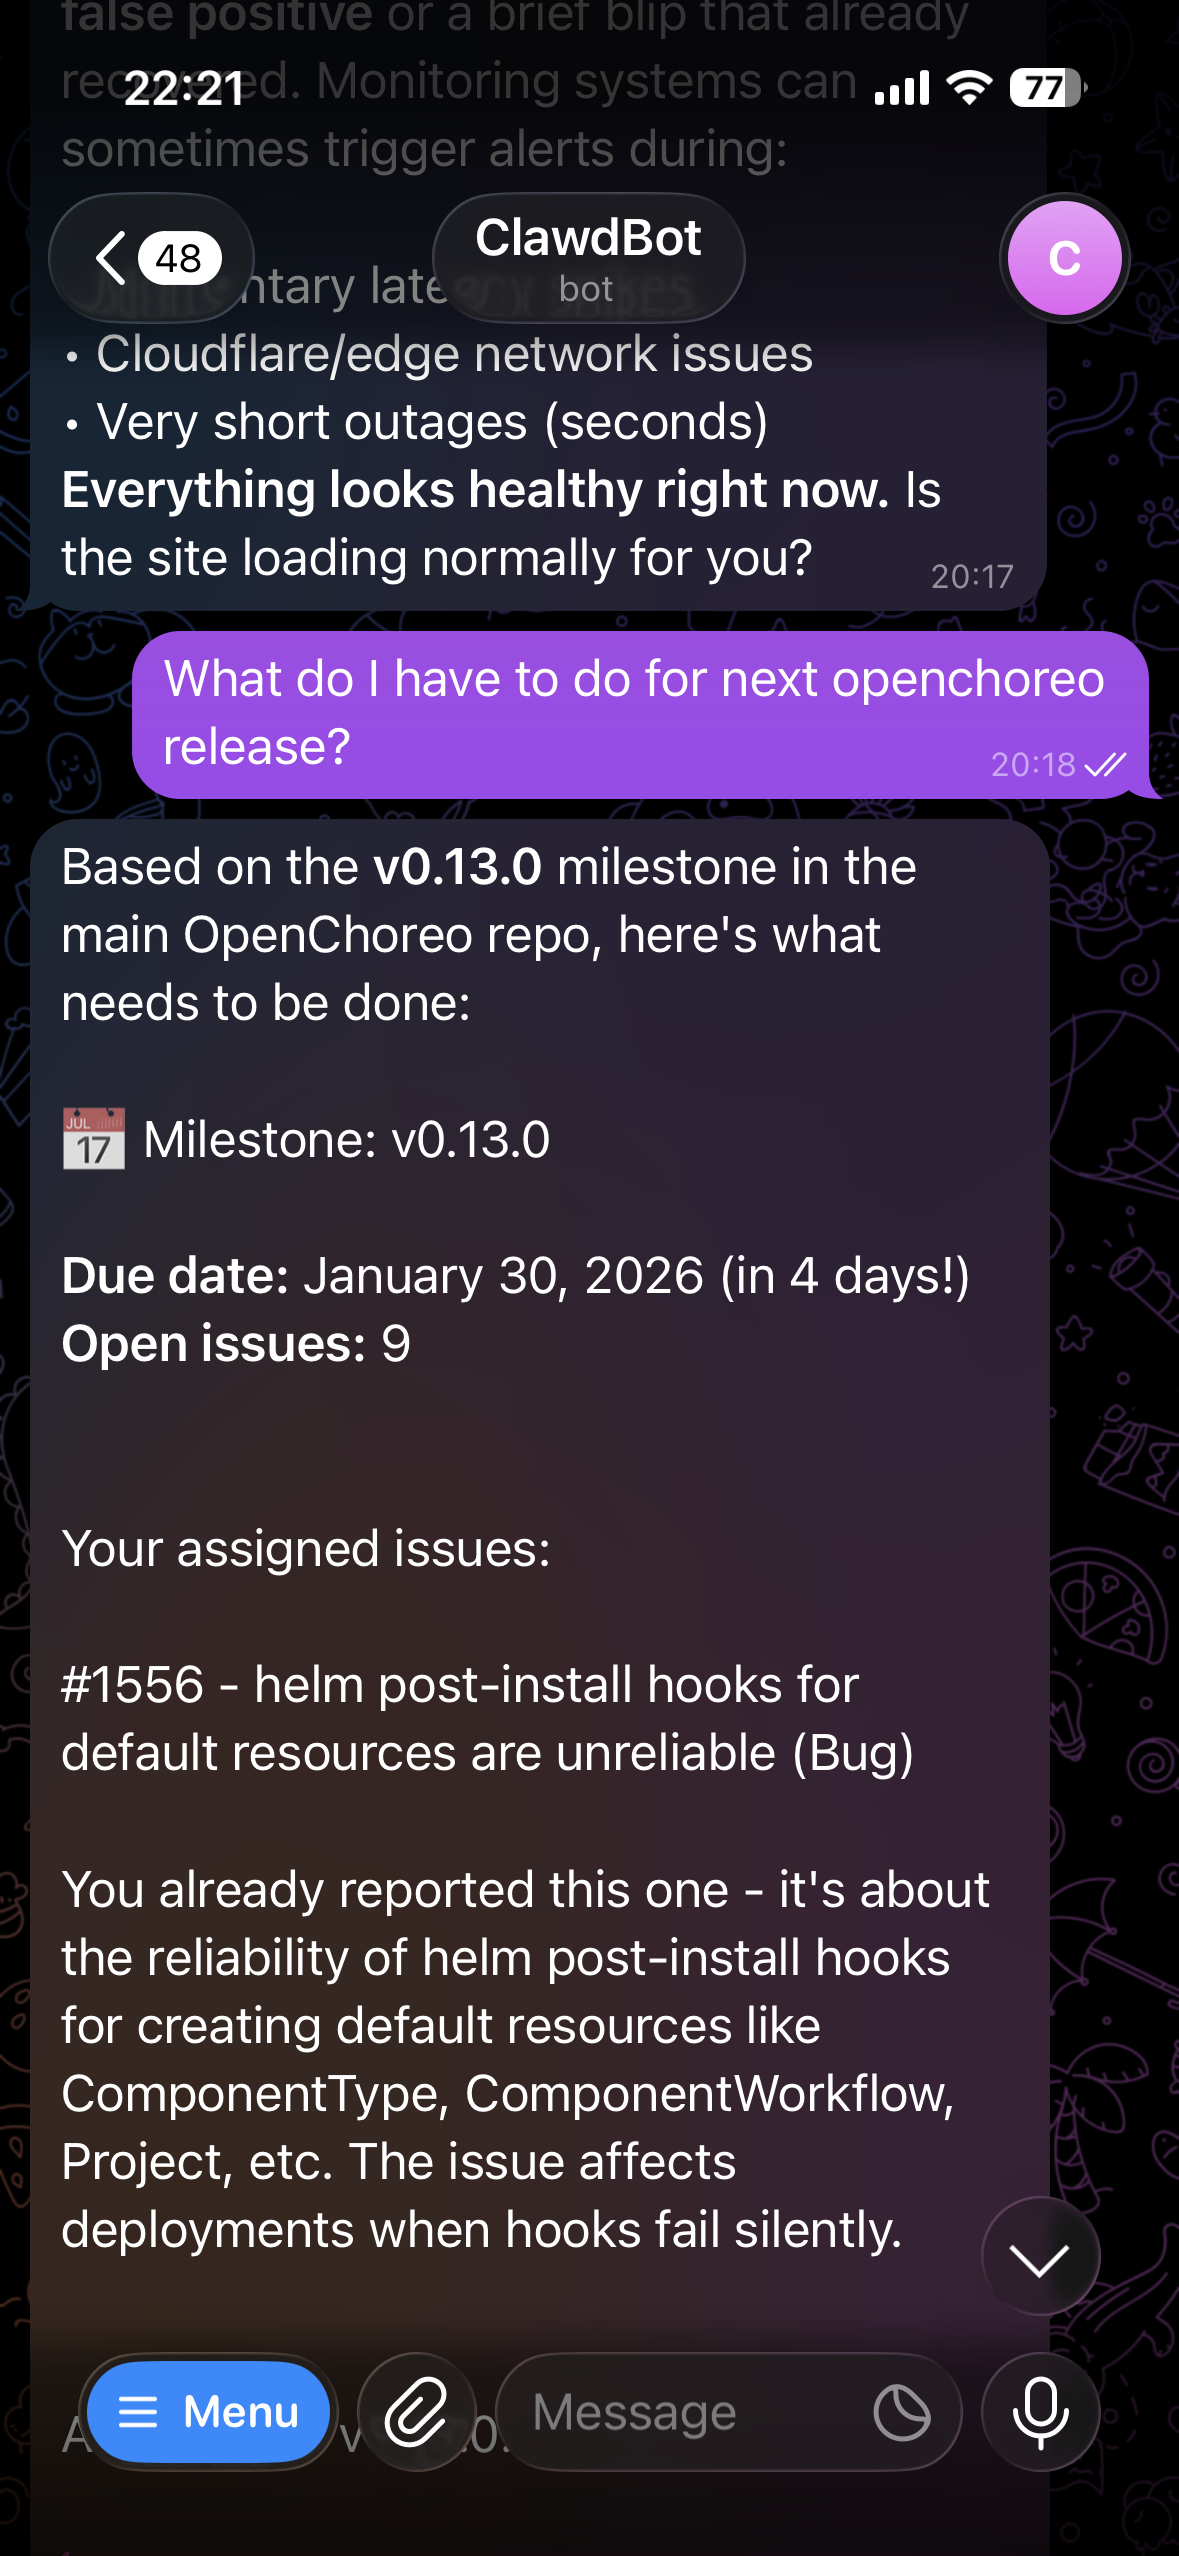
Example 2. What’s left for the next release?
Asked what I need to do for my next release. Bot looked up my GitHub issues, checked the milestone, gave me a summary of remaining tasks.
This is running on a $45 Raspberry Pi. No Mac Mini.
So yeah
The hype around OpenClaw and Mac Minis is a bit silly. Cool software. Doesn’t need expensive hardware.
A Raspberry Pi 5, a Z.AI subscription, and an hour of setup gets you a personal AI assistant that runs 24/7 on hardware you control, talks to you through Telegram, and can actually do things on your infrastructure with skills. About $75 upfront, $30/year to run.
Not “AGI” obviously. But a useful assistant running on a computer the size of a credit card. Good enough for me.